ICTContact provides the great capability to the admin. It has admininstration menu and the dashboard. Through admininstration menu the admin can
do:
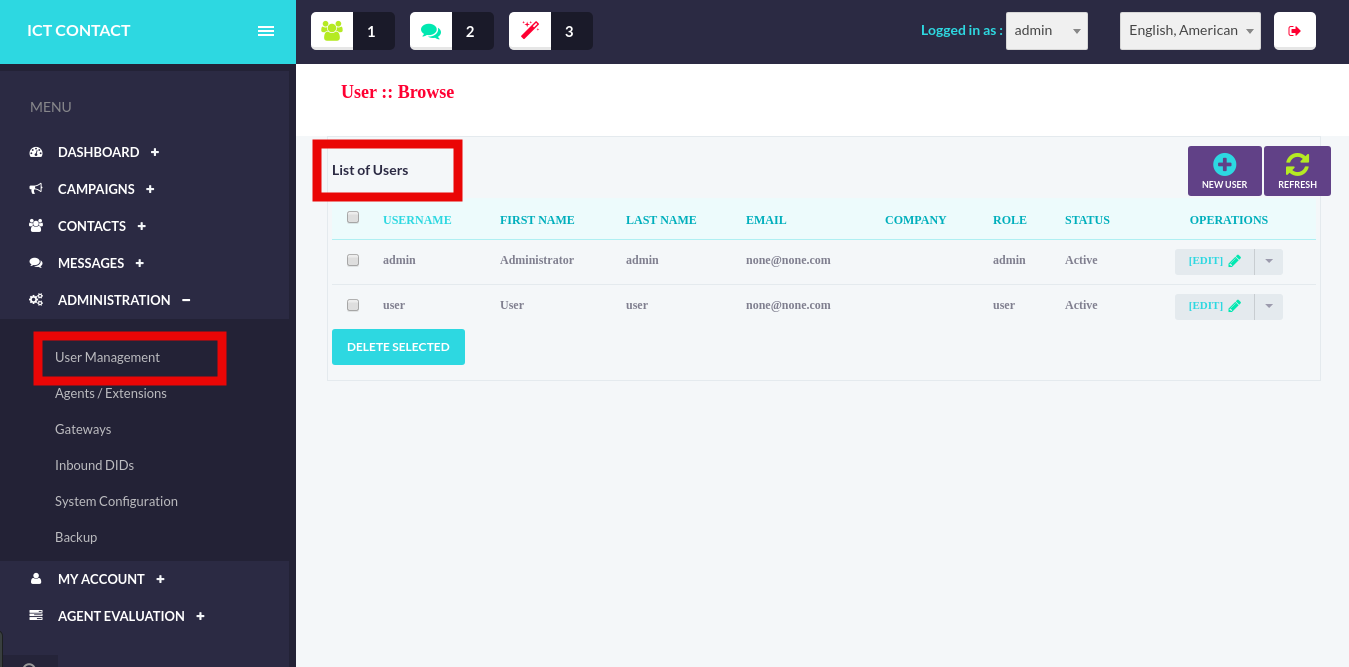
User Management
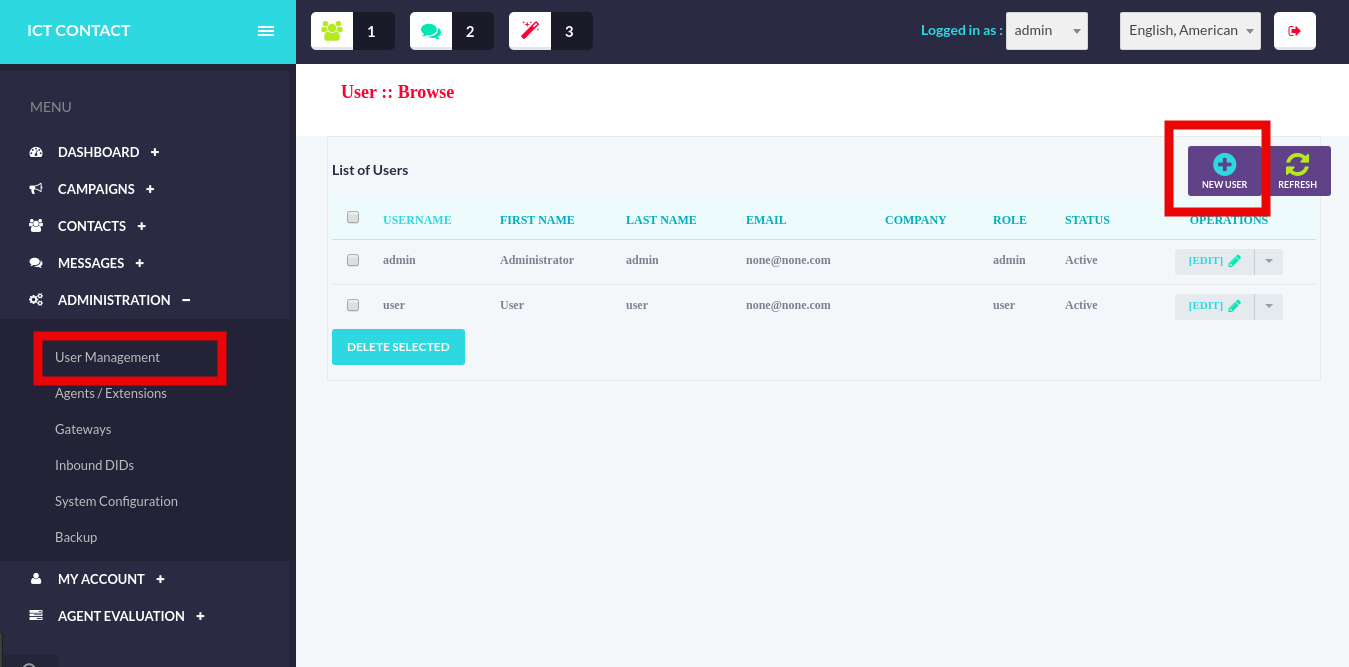
Through user management the admin can view the list of users, delete the user, add new user and update the record of the existing user.
- List Users
The admin can view the complete list of all users. To view the list of all user click the Administration menu and than select the User Management. The list of users will be displayed.
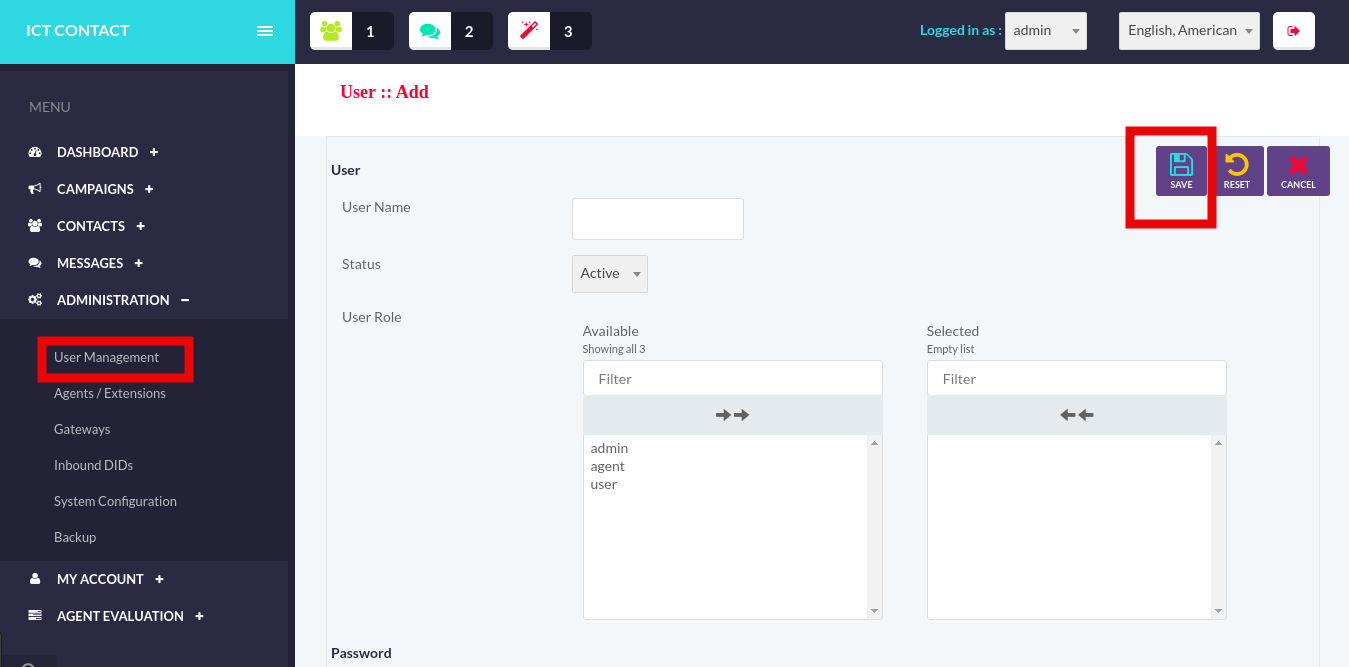
- Add User
Through ICTContact the admin can add the new user to the system. To add new user click on the NEW USER button in User list and it will display the User add page. Add all of the required fields and press the Save button. User will be added successfully.
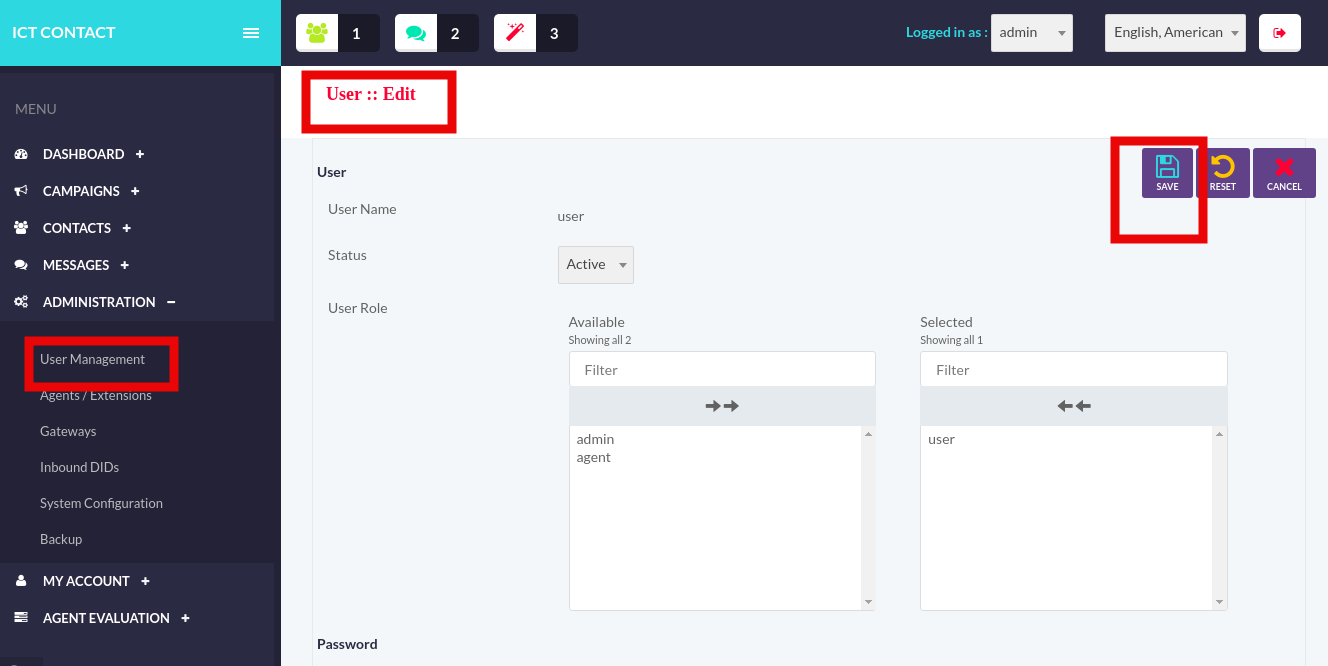
- Edit / Update User
Admin can also edit / update the record of the existing user. To edit the record of the existing user, click on the Edit button against the user name in the user list and it will open the record of that particular user. Edit the fields and press the Save button. User will be updated successfully.
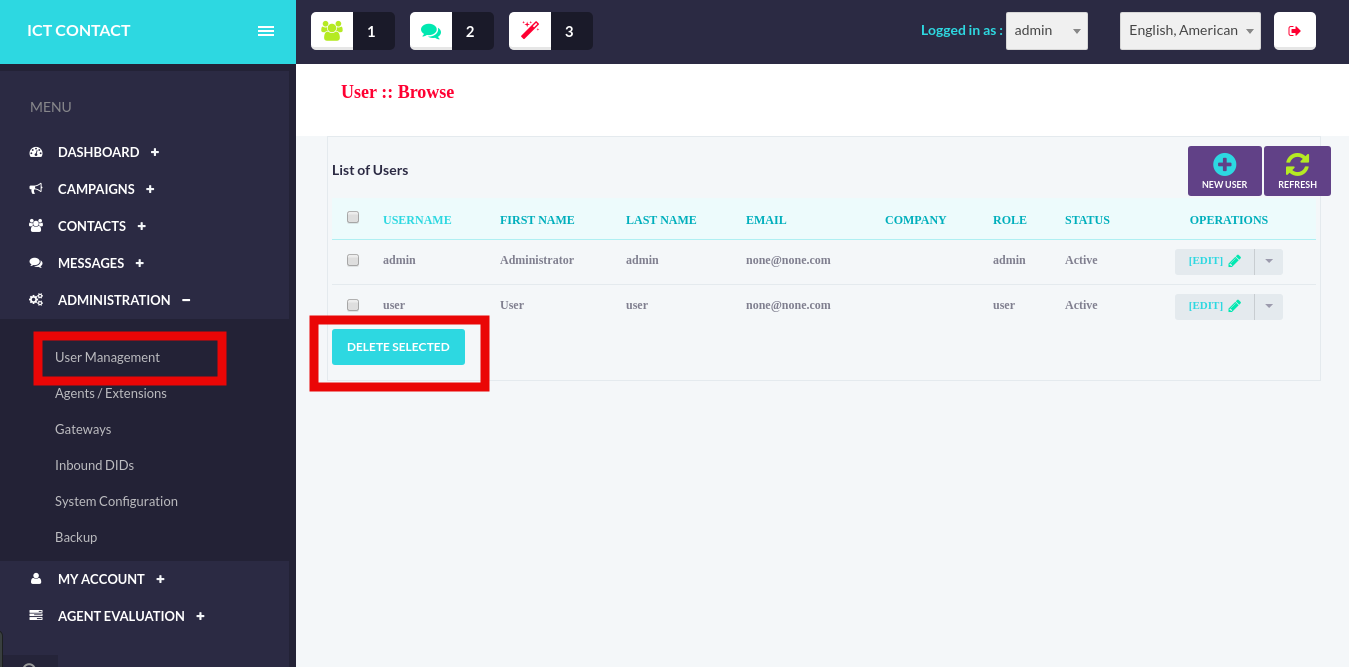
- Delete User
Admin can also delete the record of the existing user. To delete the record of the existing user, tick / check the records in the User list that you want to delete and than click the Delete Selected button. All of the selected records will be deleted.
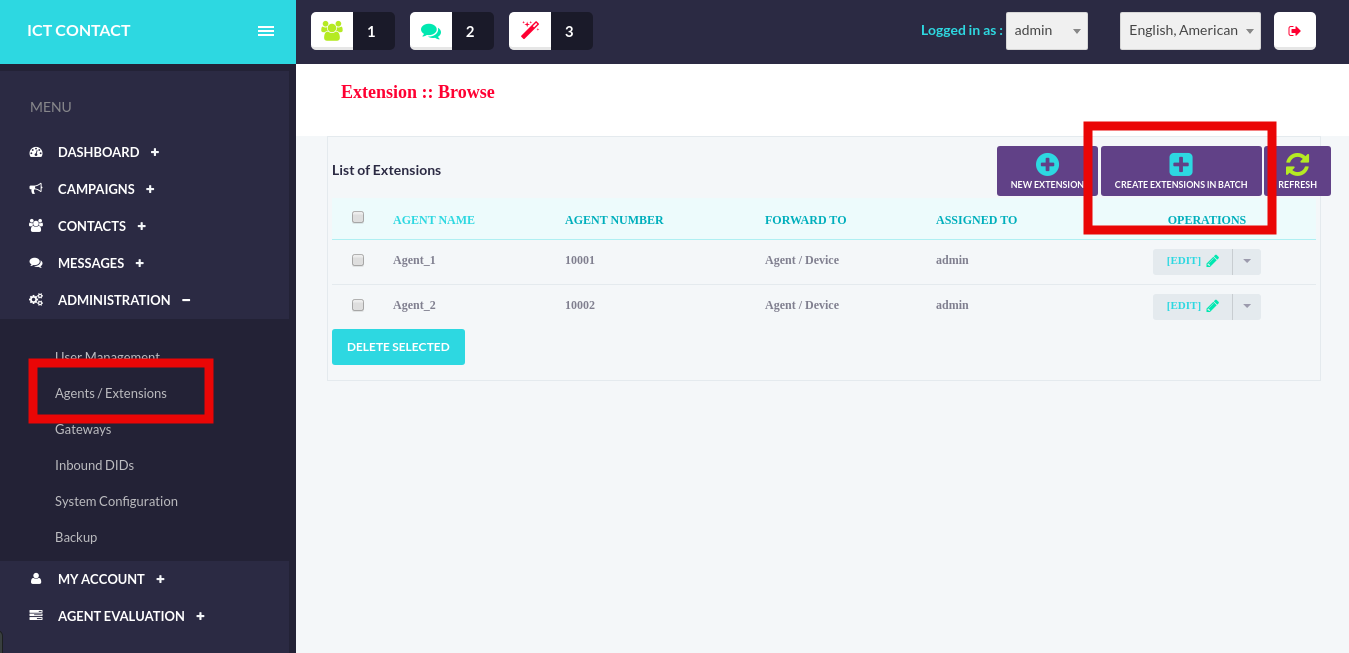
Agents / Extensions
Through agents / extensions menu the admin can view the list of agents / extensions, delete the agents / extensions, add new agents / extensions and update the record of the existing agents / extensions.
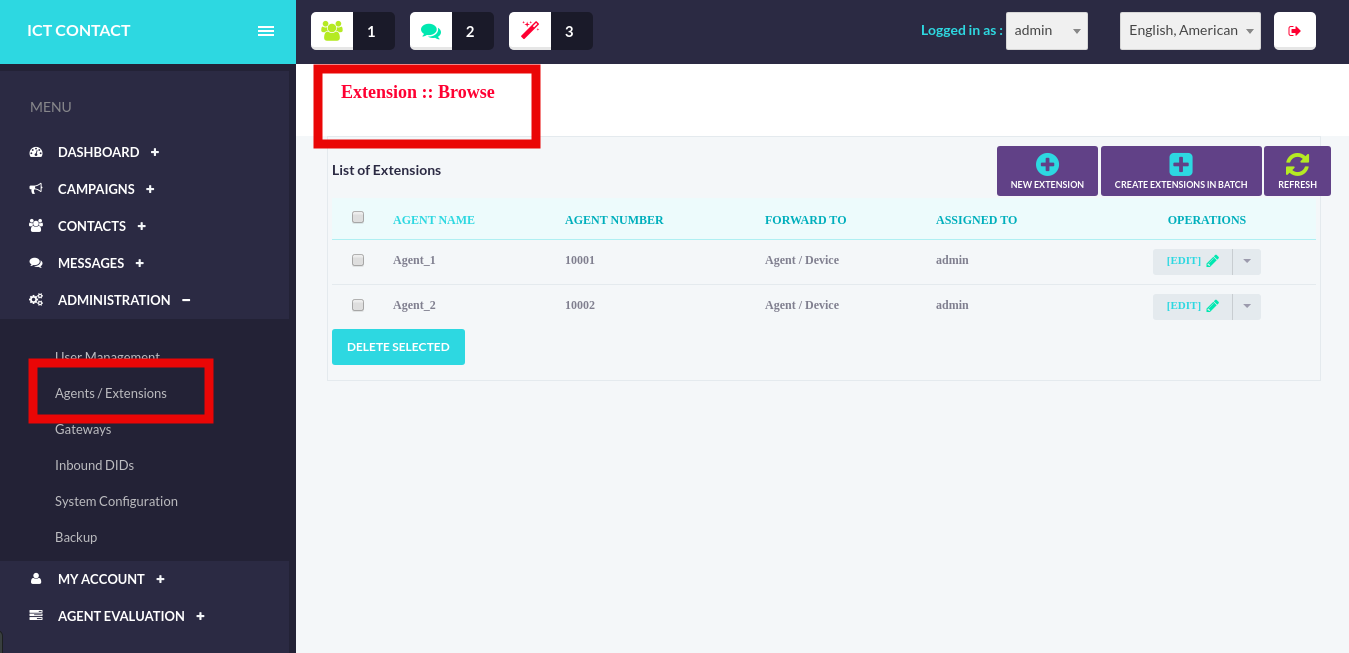
- List Agents / Extensions
The admin can view the complete list of all agents / extensions. To view the list of all agents / extensions click the Administration menu and than select the Agents / Extensions. The list of agents / extensions will be displayed.
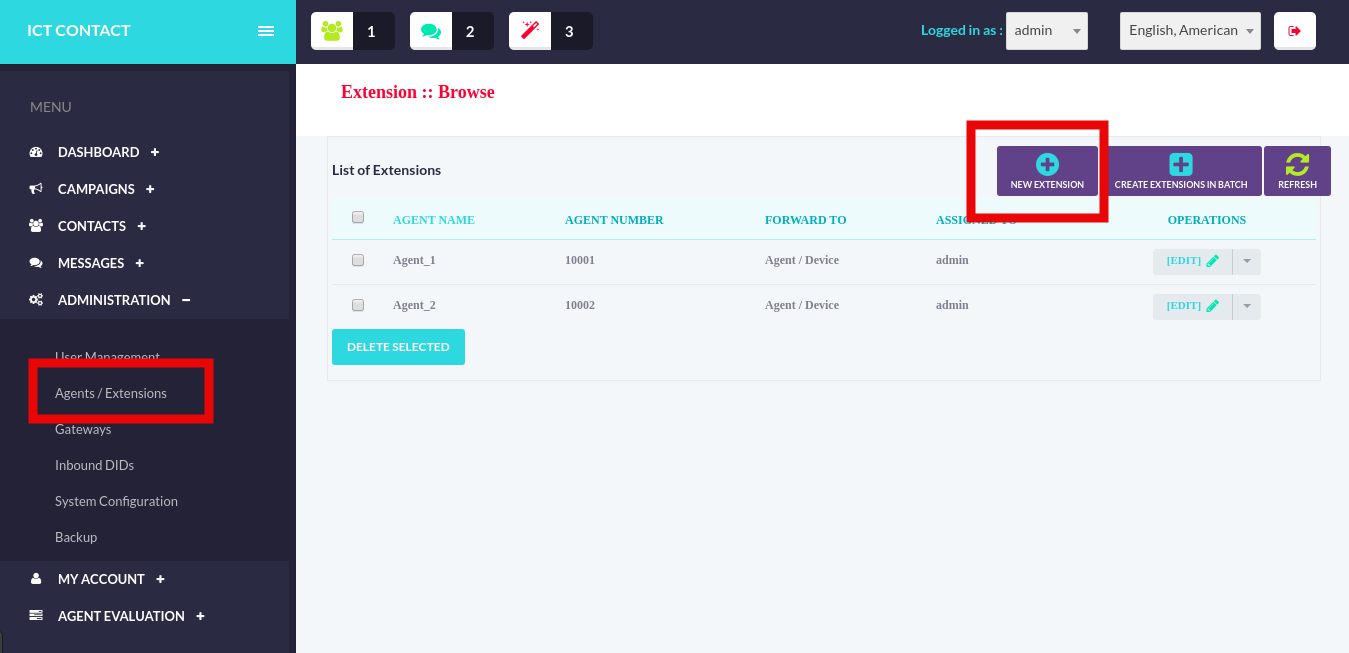
- Add Agents / Extensions
Through ICTContact the admin can add the new agents / extensions to the system. To add new agents / extensions click on the NEW Extension button in Extension list and it will display the Extension add page. Add all of the required fields and press the Save button. Extension will be added successfully.
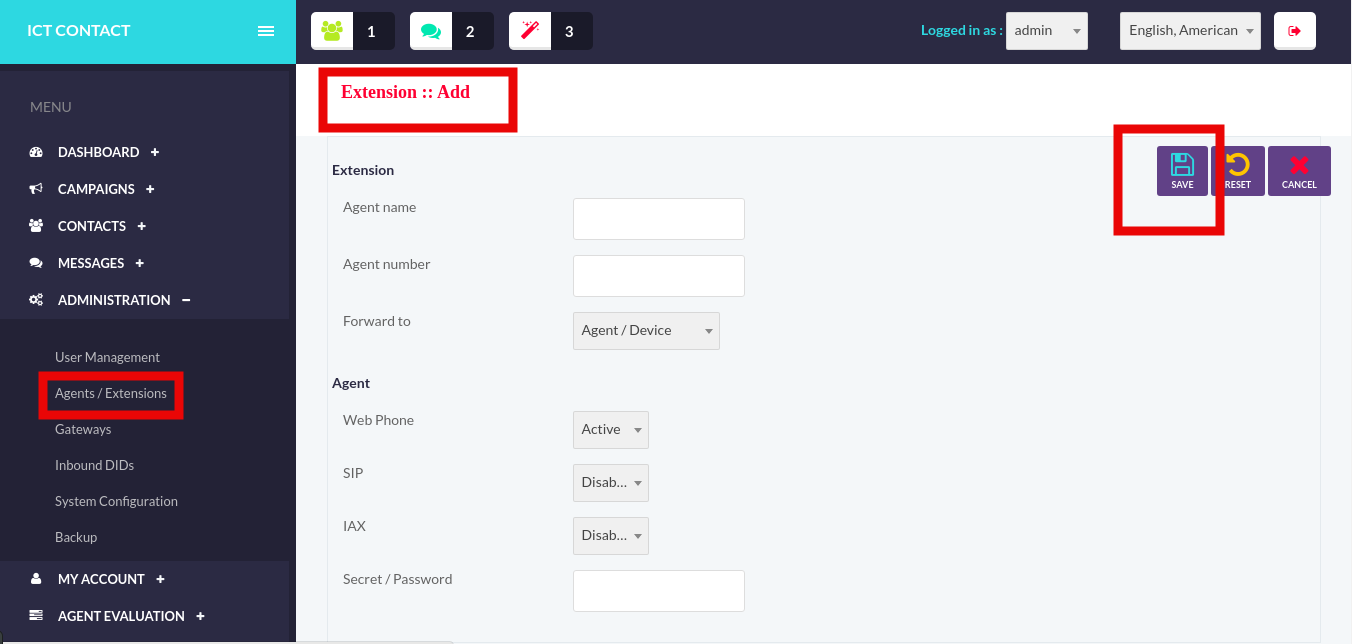
- Edit / Update Extensions
Admin can also edit / update the record of the existing extension. To edit the record of the existing extension, click on the Edit button against the agent name in the extension list and it will open the record of that particular extension. Edit the fields and press the Save button. Extension will be updated successfully.

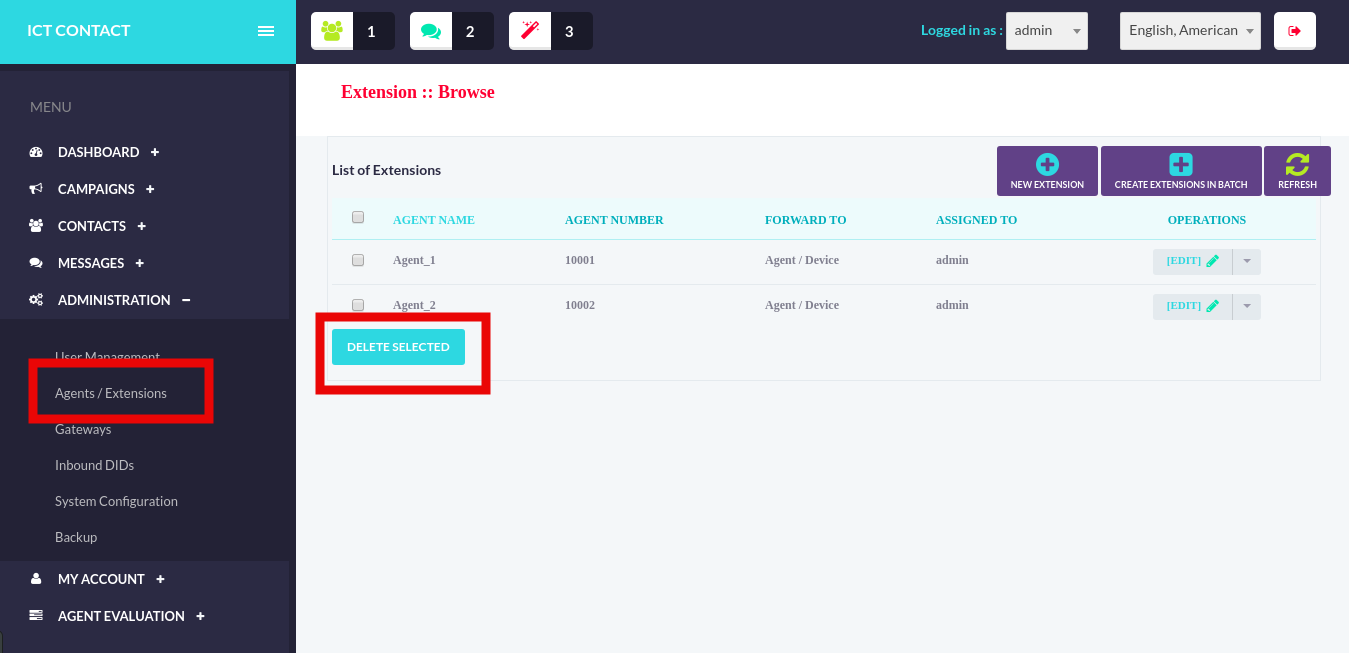
- Delete Extensions
Admin can also delete the record of the existing extension. To delete the record of the existing extension, tick / check the records in the Extension list that you want to delete and than click the Delete Selected button. All of the selected records will be deleted.
- Create Extensions in batch
Admin can also create the extensions in the batch. For this click on the Create Extensions in batch button in extension list and it will open the following page:
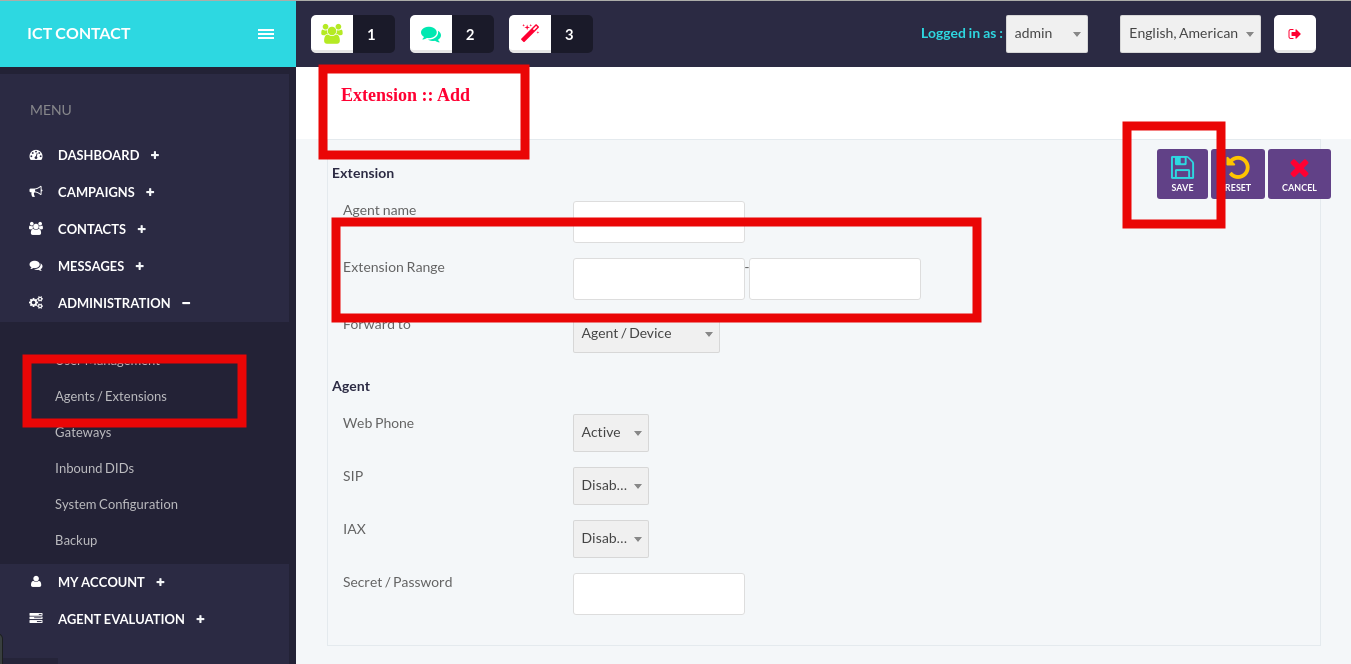
Enter the start and the end range and other required fields than click the Save button. Extensions will be created successfully.
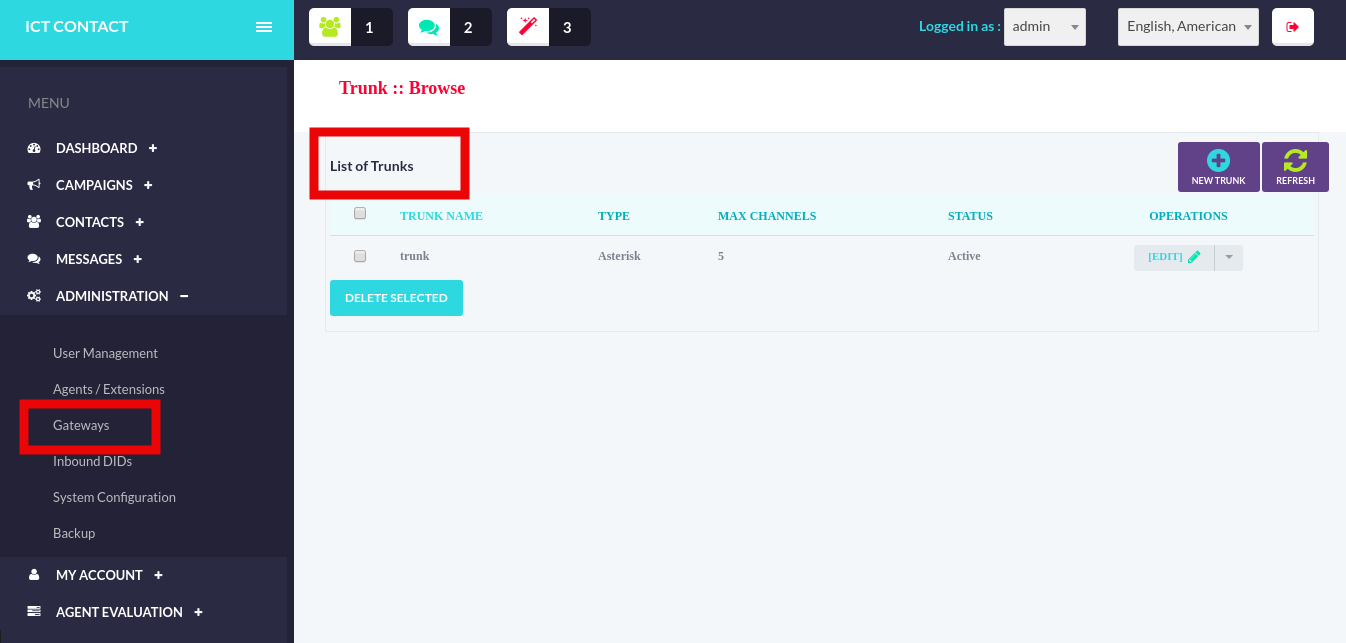
Gateways
Through user management the admin can view the list of users, delete the user, add new user and update the record of the existing user.
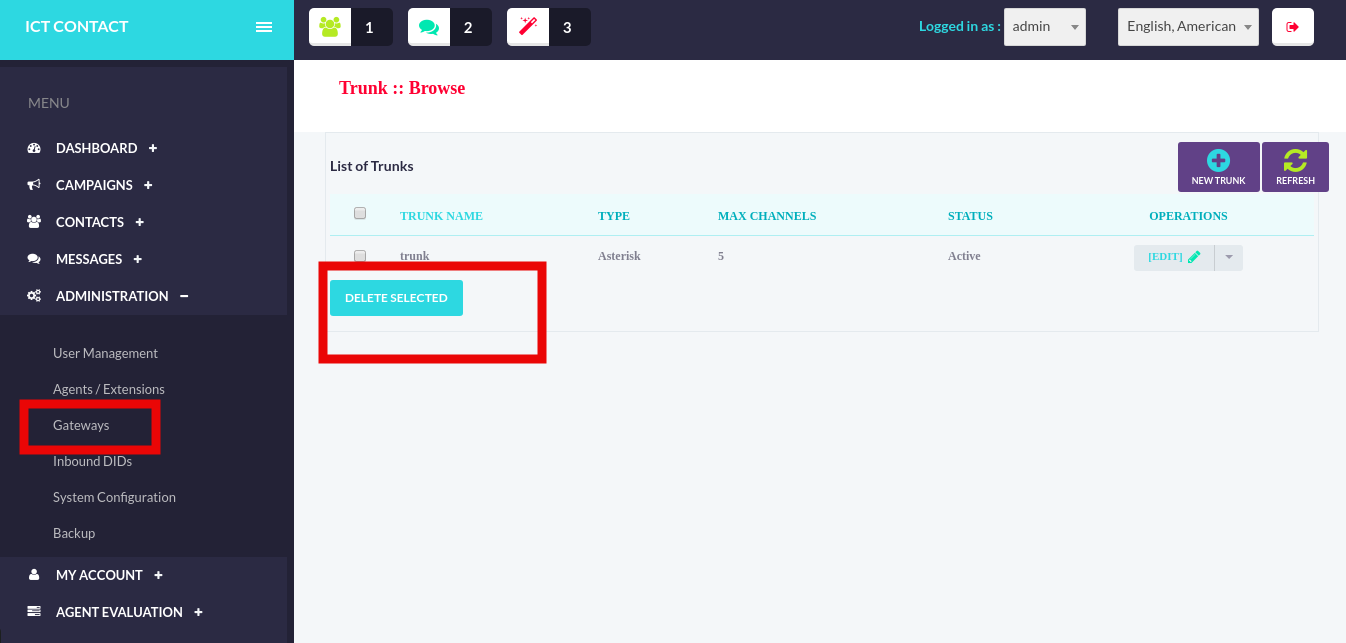
- List Gateways / Trunks
The admin can view the complete list of all trunks. To view the list of all trunks click the Administration menu and than select the Gateways. The list of gateways will be displayed.
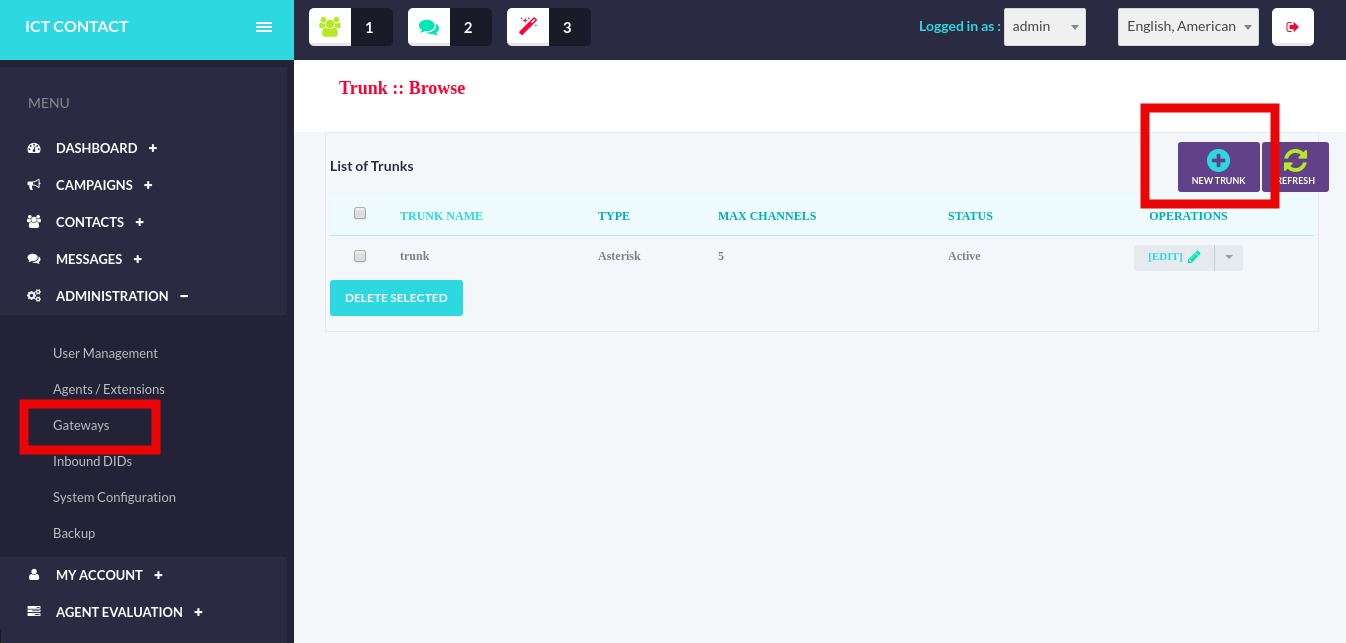
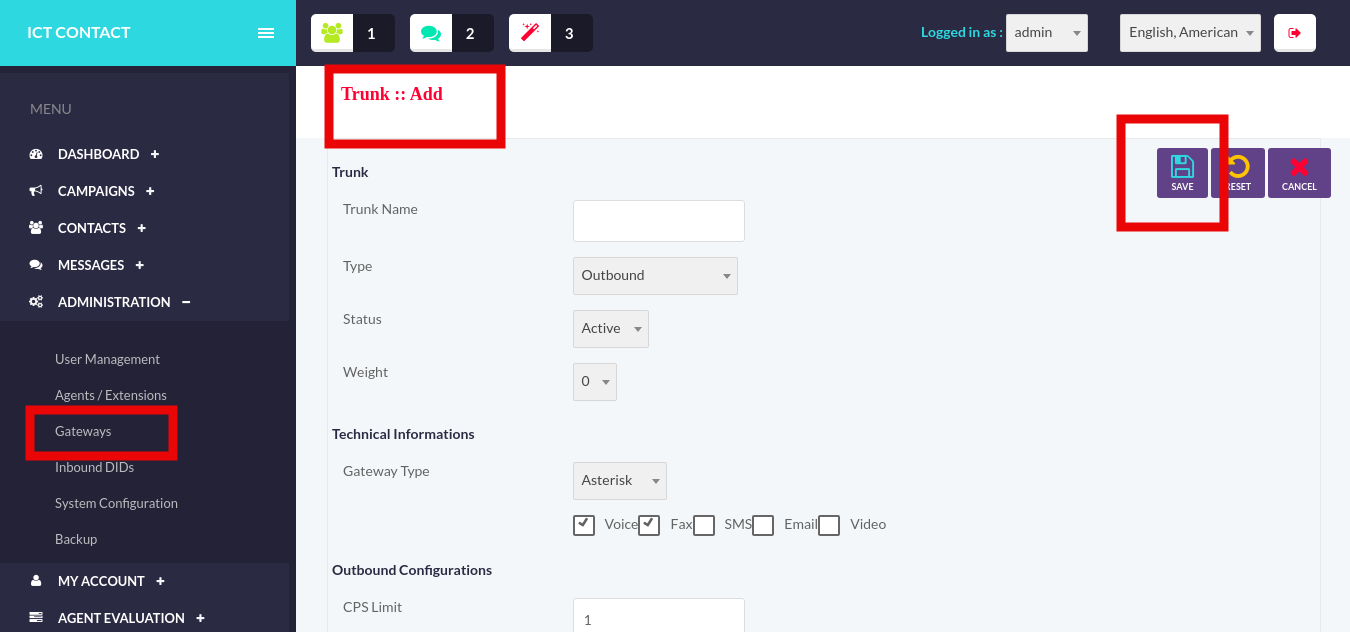
- Add Trunk
Through ICTContact the admin can add the new trunk to the system. To add new trunk click on the NEW Trunk button in Trunk list and it will display the Trunk add page. Add all of the required fields and press the Save button. Trunk will be added successfully.
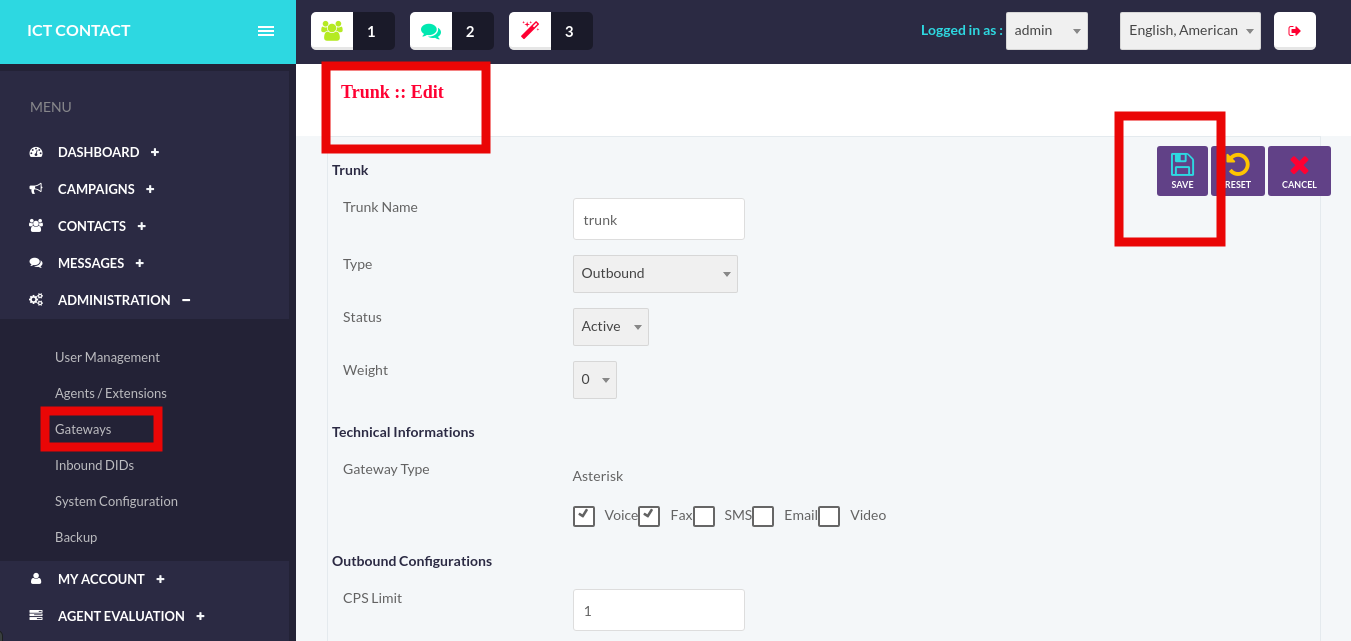
- Edit / Update Trunk
Admin can also edit / update the record of the existing trunk. To edit the record of the existing trunk, click on the Edit button against the trunk name in the trunk list and it will open the record of that particular trunk. Edit the fields and press the Save button. Trunk will be updated successfully.
- Delete Trunk
Admin can also delete the record of the existing trunk. To delete the record of the existing trunk, tick / check the records in the Trunk list that you want to delete and than click the Delete Selected button. All of the selected records will be deleted.
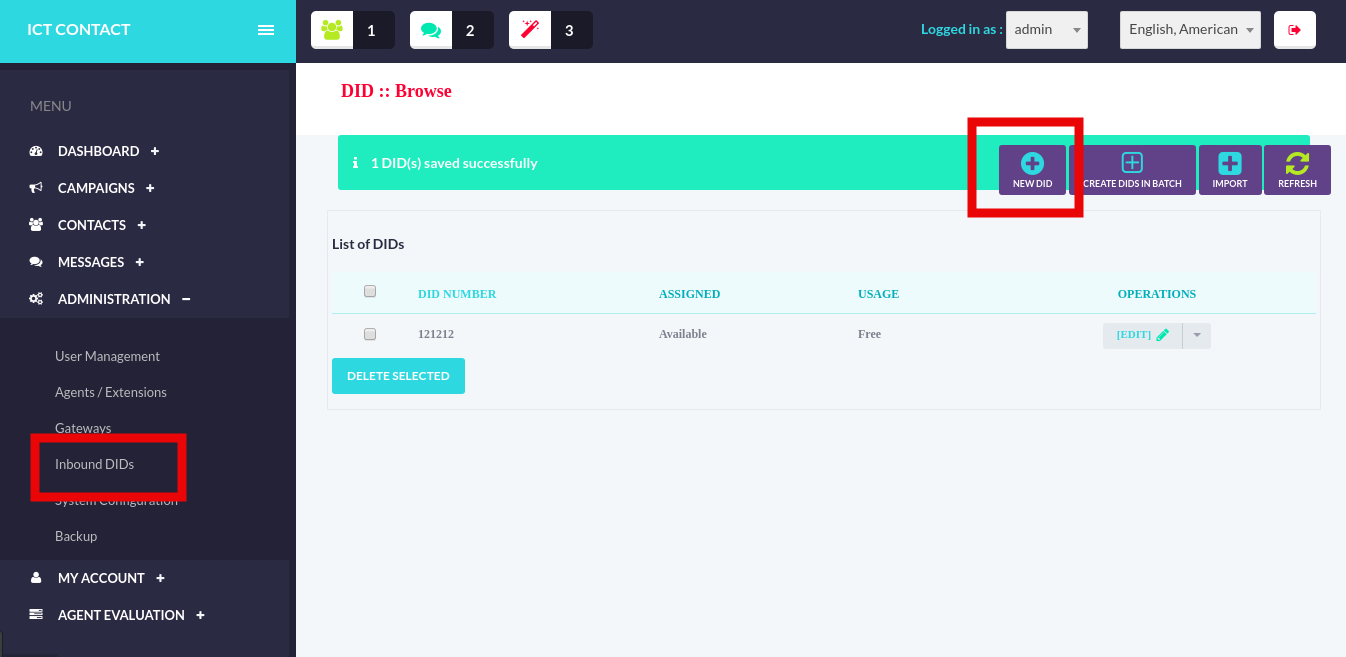
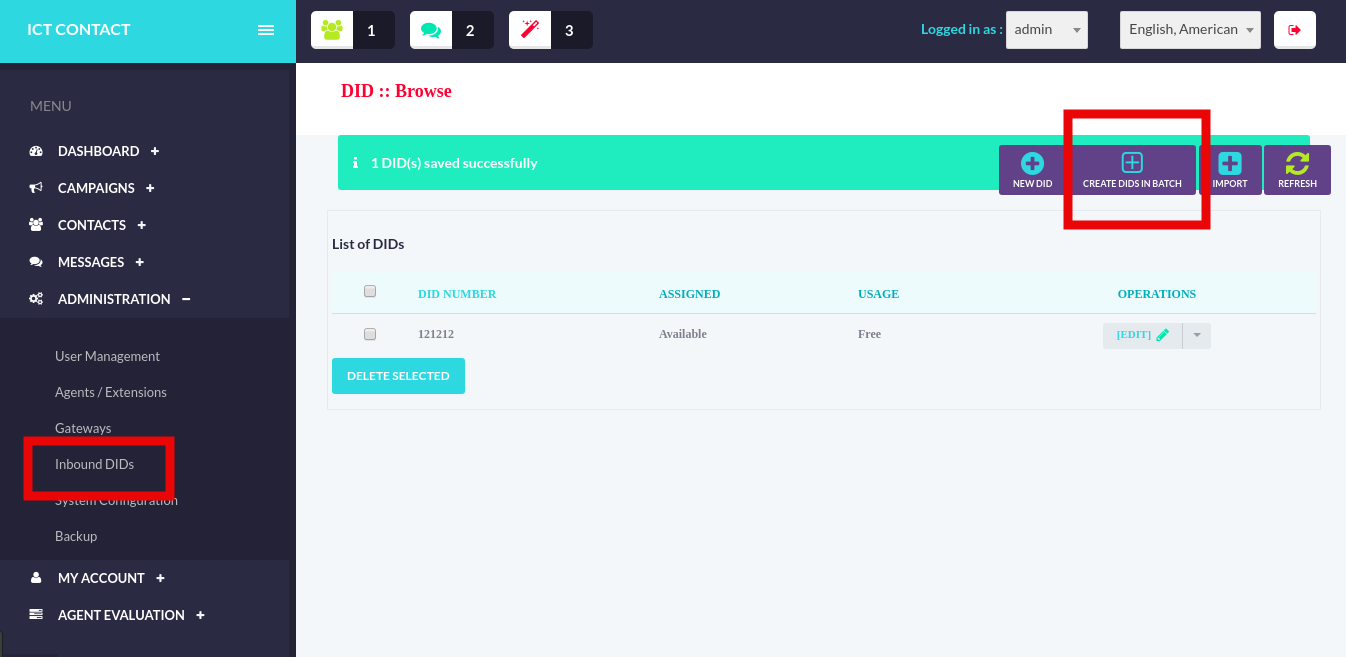
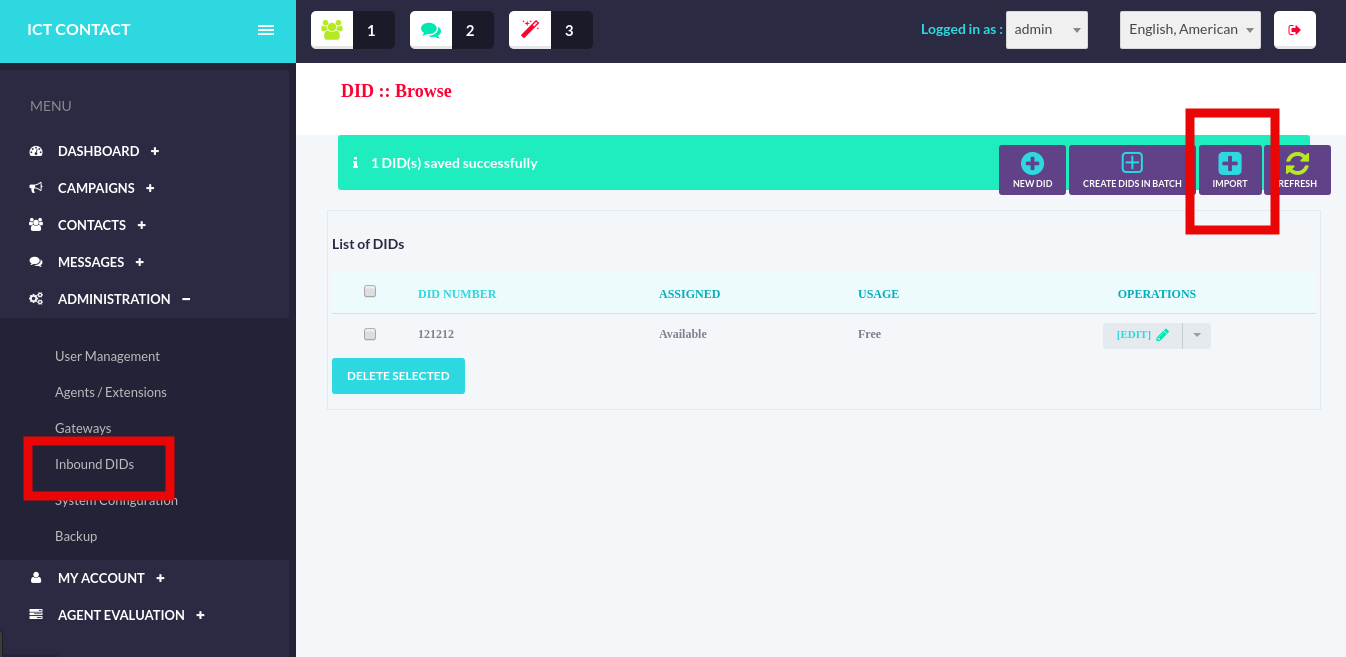
Inbound DIDs
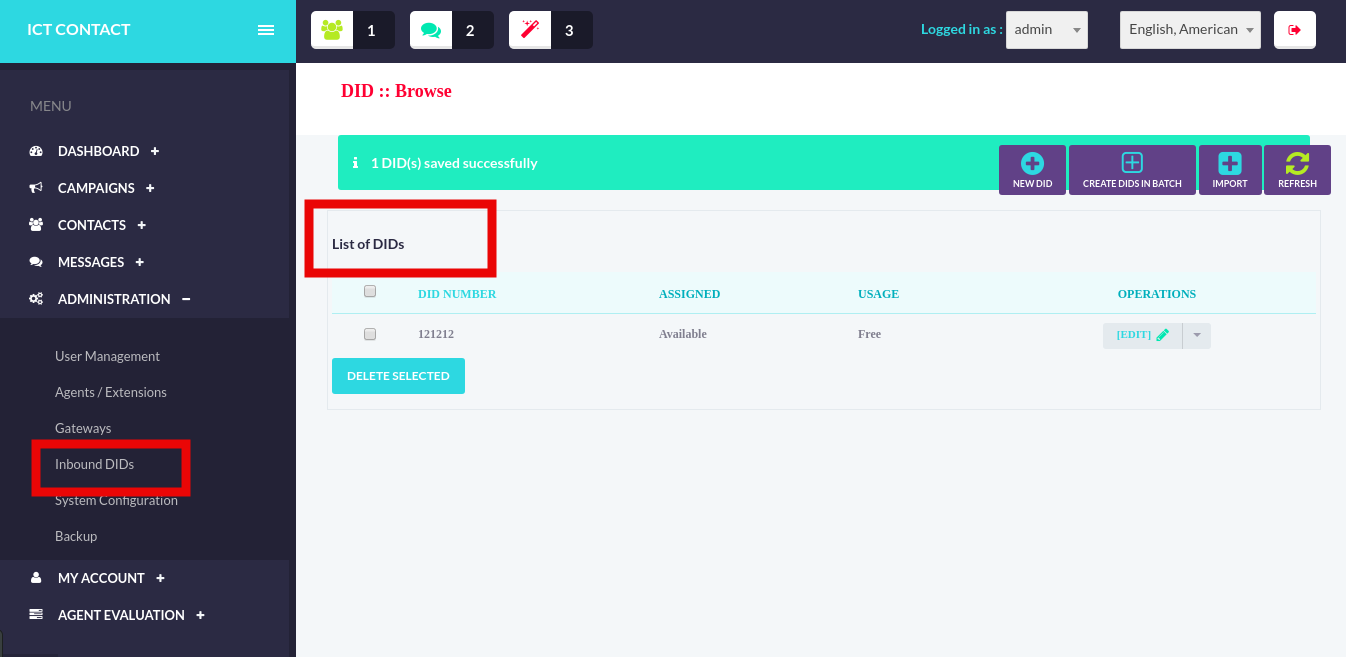
- List DIDs
The admin can view the complete list of all DIDs. To view the list of all DIDs click the Administration menu and than select the Inbound DIDs. The list of DIDs will be displayed.
- Add DIDs
Through ICTContact the admin can add the new DIDs to the system. To add new DIDs click on the NEW DID button in DIDs list and it will display the DID add page. Add all of the required fields and press the Save button. DID will be added successfully.

- Edit / Update DIDs
Admin can also edit / update the record of the existing DIDs. To edit the record of the existing DID, click on the Edit button against the DID number in the DIDs list and it will open the record of that particular DID. Edit the fields and press the Save button. DID will be updated successfully.

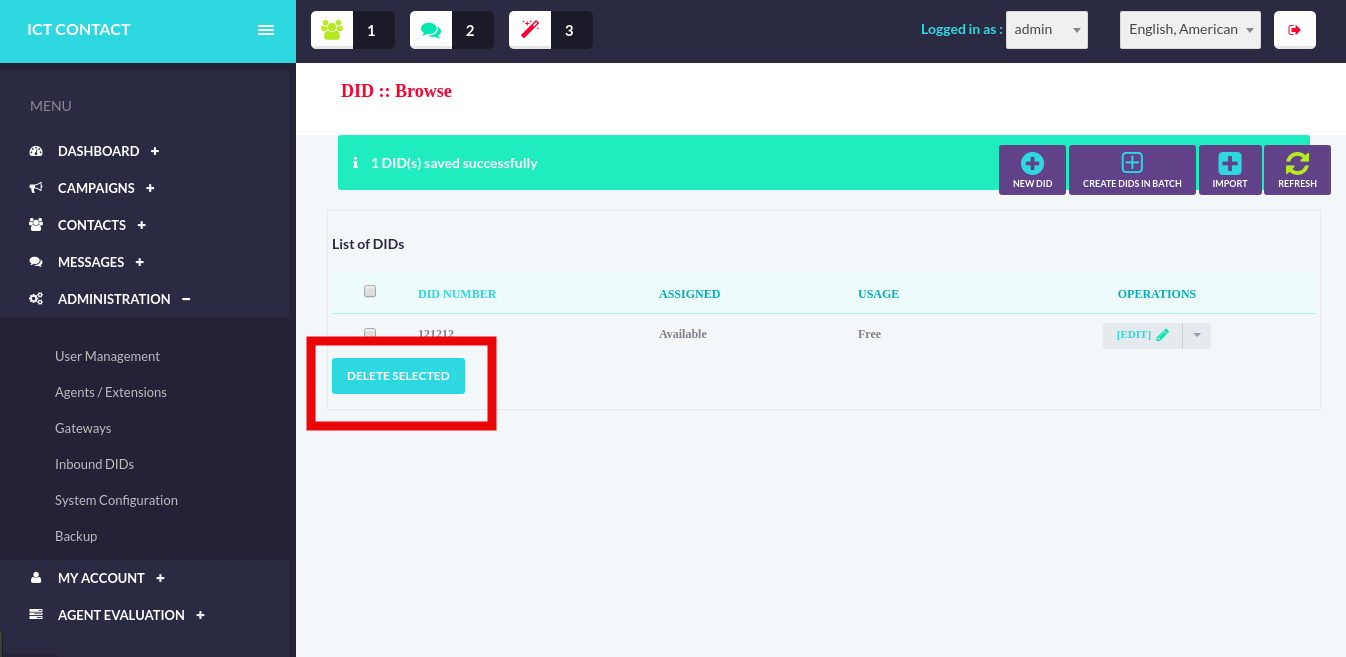
- Delete DIDs
Admin can also delete the record of the existing DID. To delete the record of the existing DID, tick / check the records in the DID list that you want to delete and than click the Delete Selected button. All of the selected records will be deleted.
- Create DIDs in batch
Admin can also create the DIDs in the batch. For this click on the Create DIDs in batch button in DIDs list and it will open the following page:
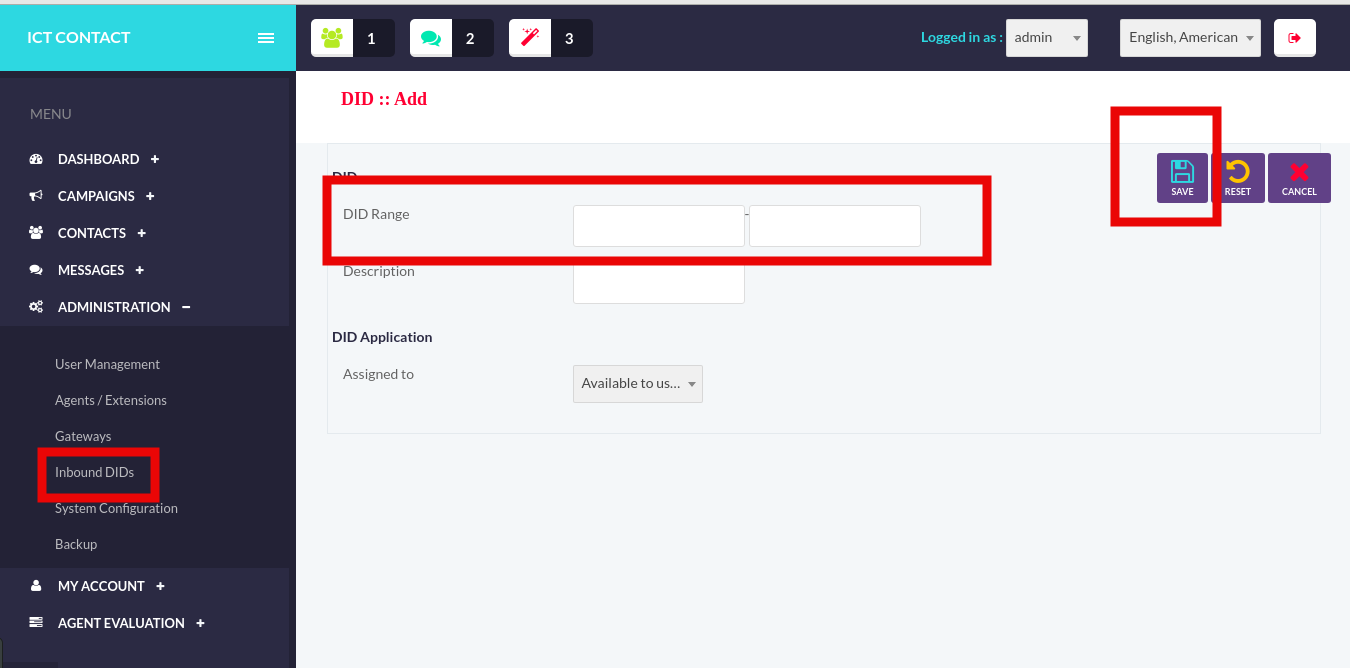
Enter the start and the end range and other required fields than click the Save button. DIDs will be created successfully.
- Import DIDs
Admin can also import the DIDs in the system. For this click the Import DIDs button in the DIDs list and than it will open the following page
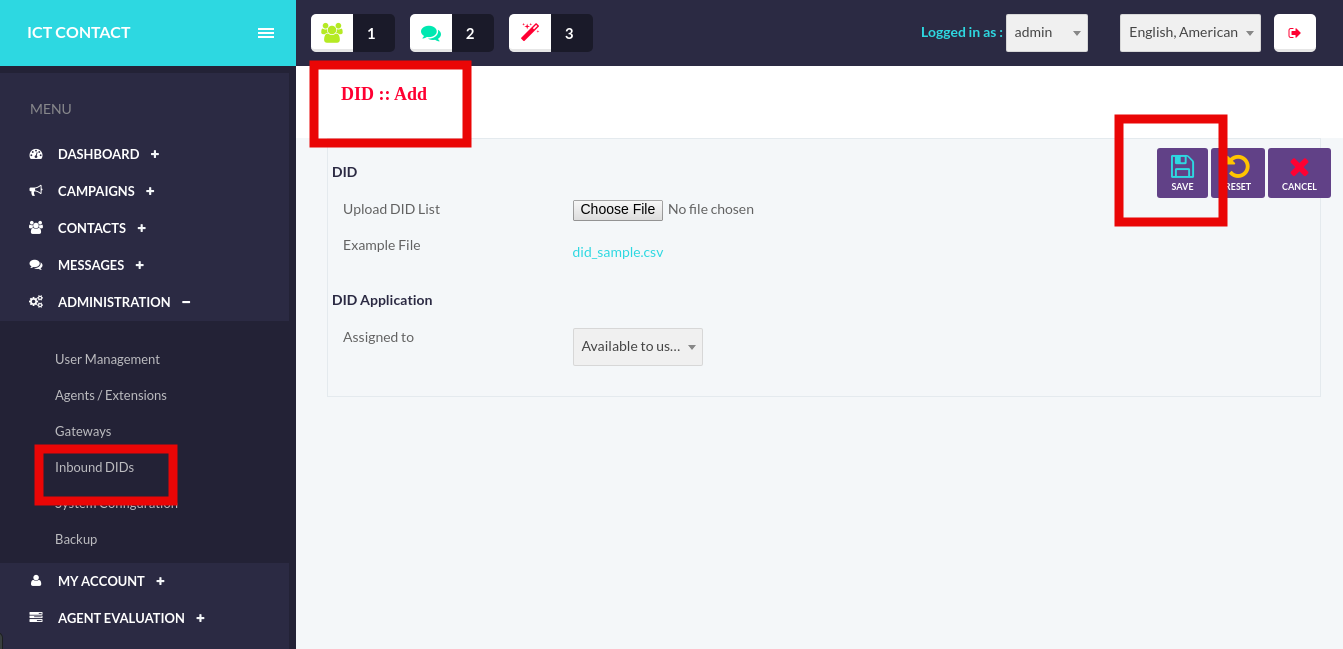
Upload the CSV file and than DIDs will be added successfully.
System Configuration
Through ICTContact the admin can also configure the system. For this click the Administration menu and than select the System Configuration. The following page will open
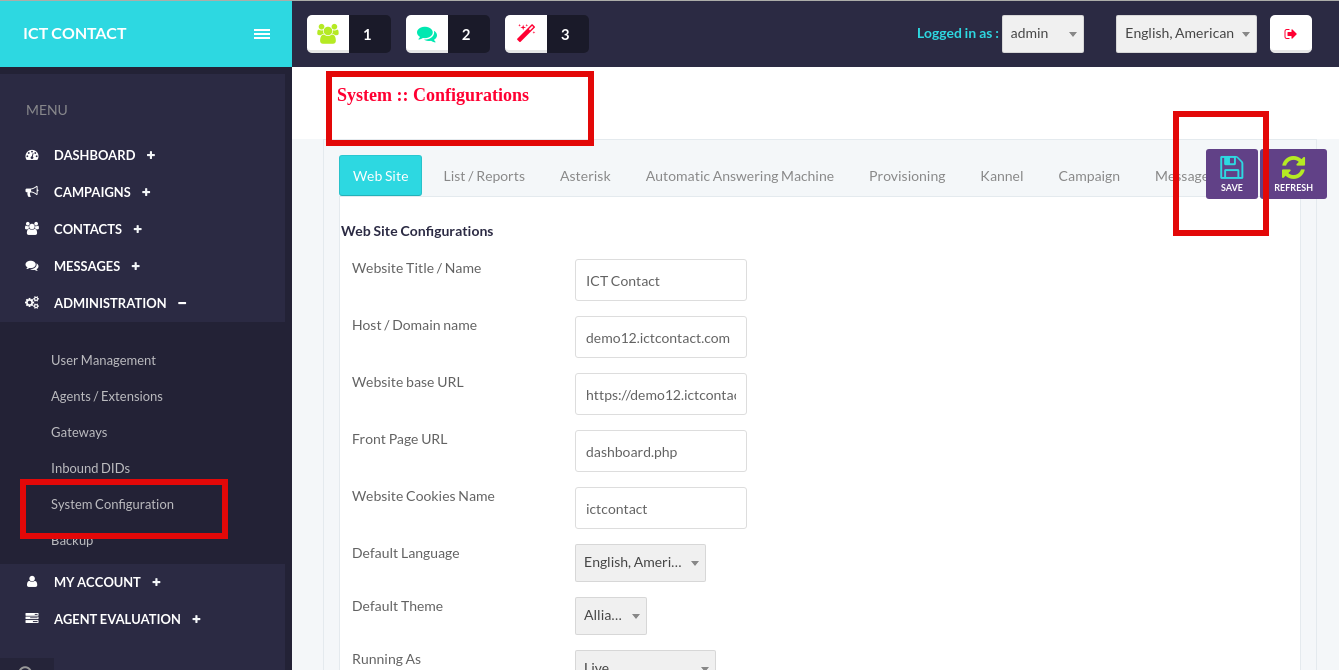
Add all of the required fields and than click the Save button. The system will be configured.
Backup
Through ICTContact the admin can create the backup of the system. To create the backup of the system click the Administration menu and than select the Backup. The following page will open
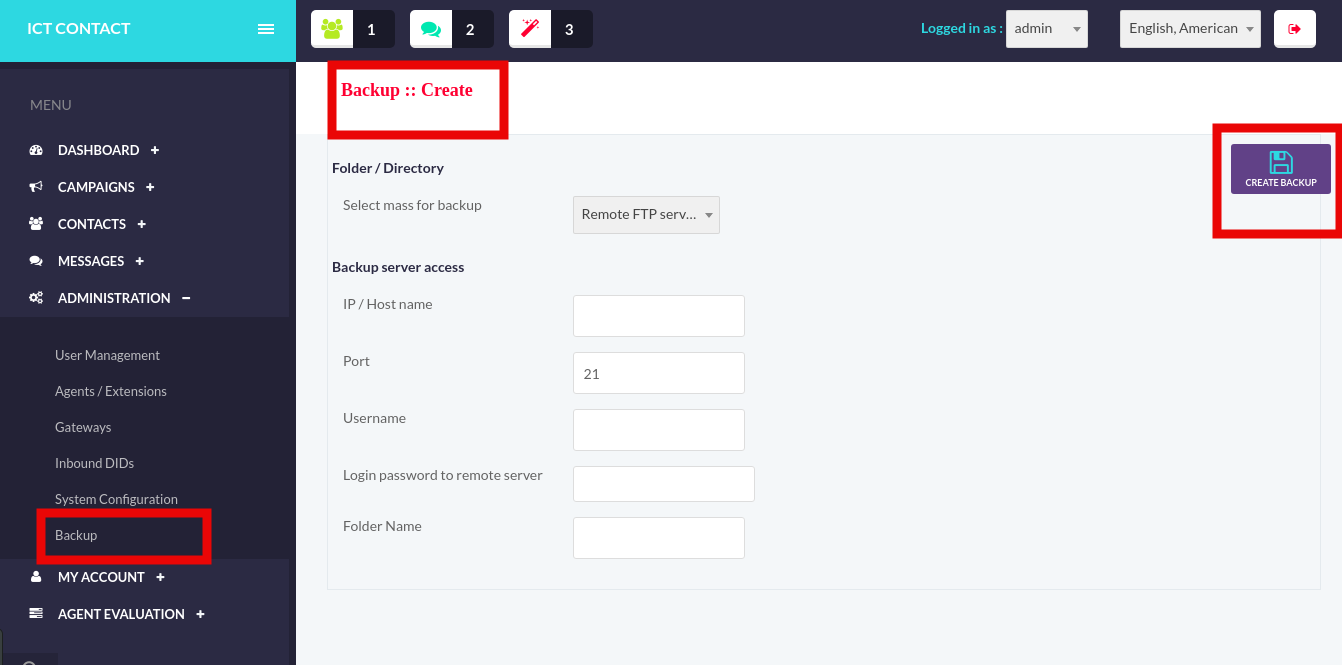
Add the required fields and than click the Create Backup button. Backup will be created successfully.
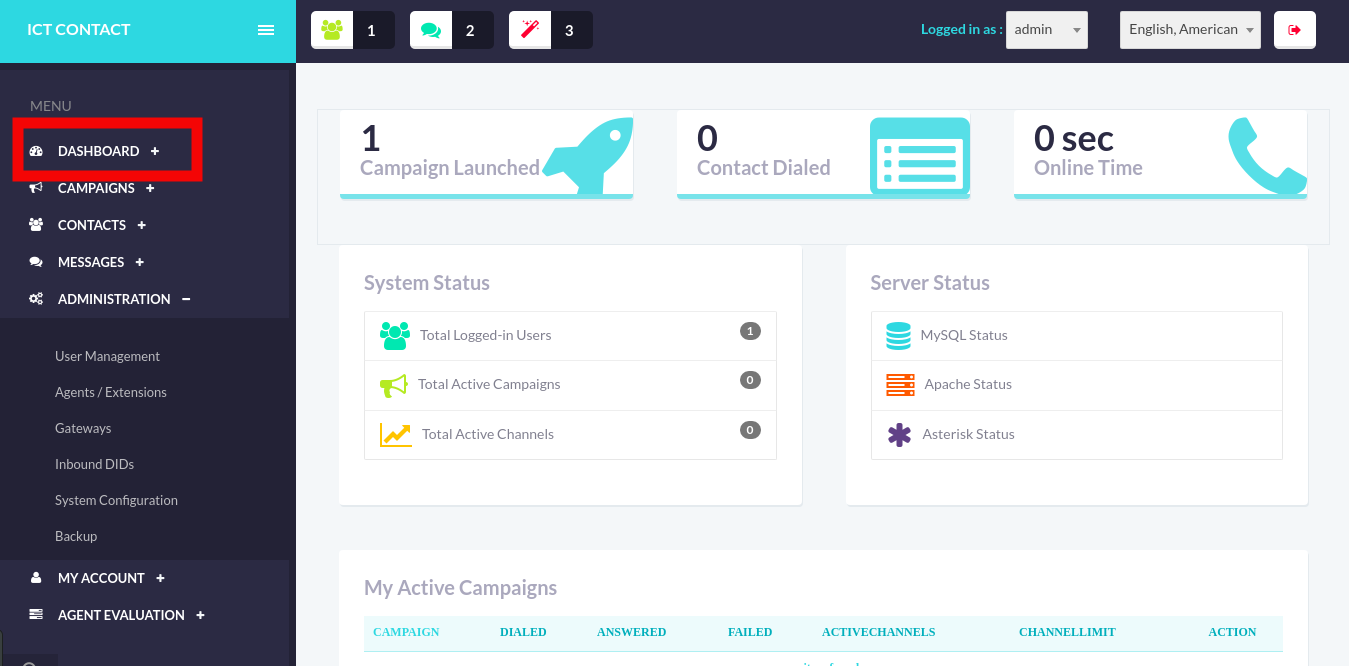
Dashboard
Moreover it provides the detailed dashboard through which admin can monitor following:
-
Total Campaign Launched
-
Contact Dialed
-
System Status
- Total Logged-in Users
- Total Active Campaigns
- Total Active Channels
-
Server Status
- MySQL Status
- Apache Status
- Asterisk Status
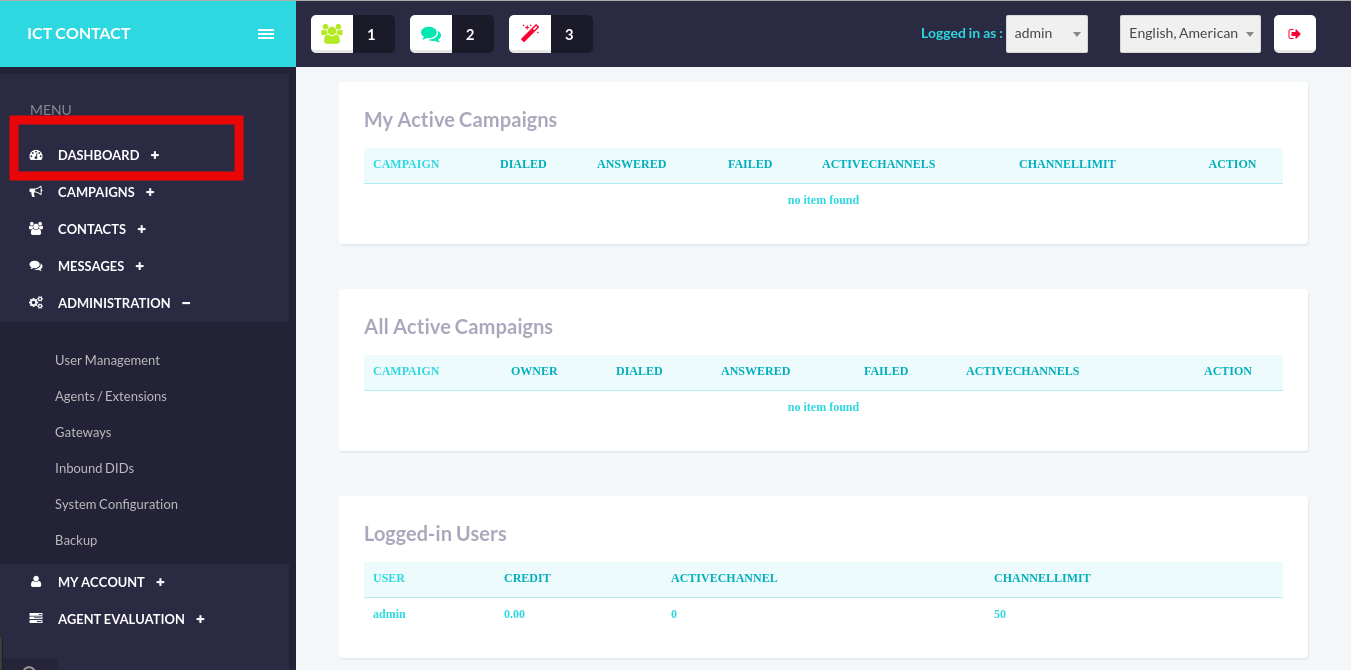
-
My Active Campaigns
-
All Active Campaigns
-
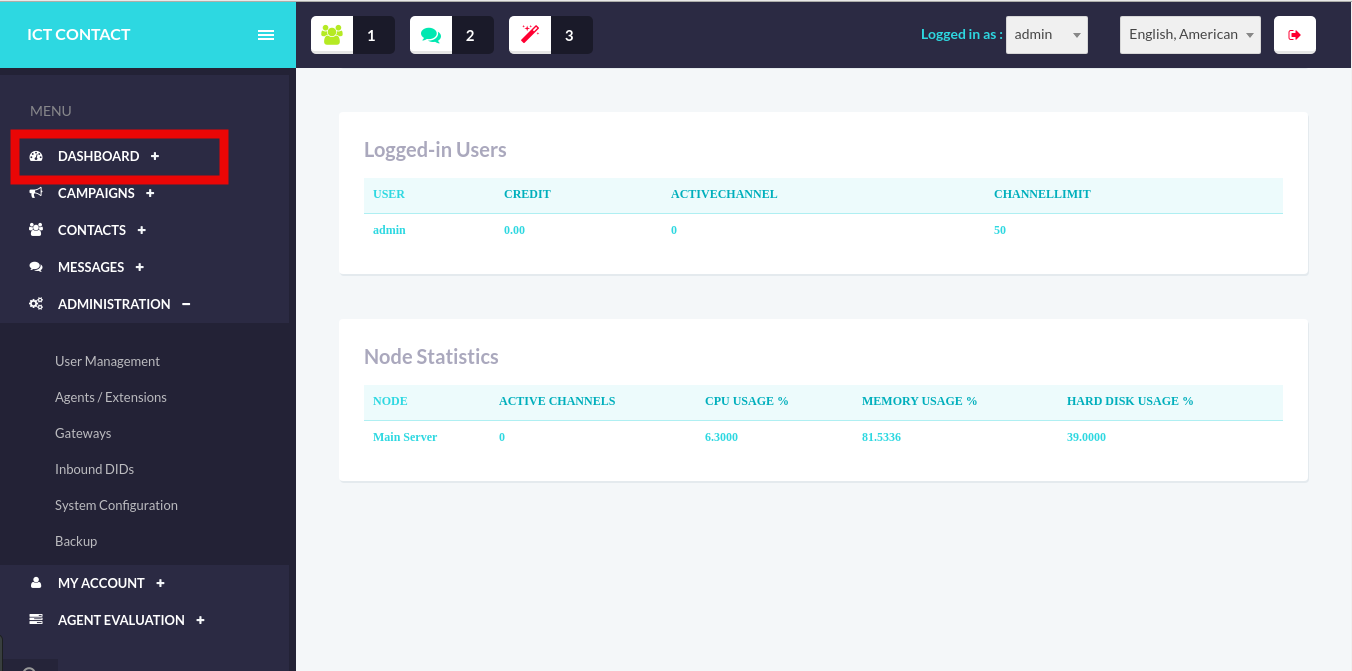
Logged-in Users
-
Node Statistics